How to fix a blurry or low-quality photo
Sharpen, enlarge, and restore · ~4 min read · by kizura
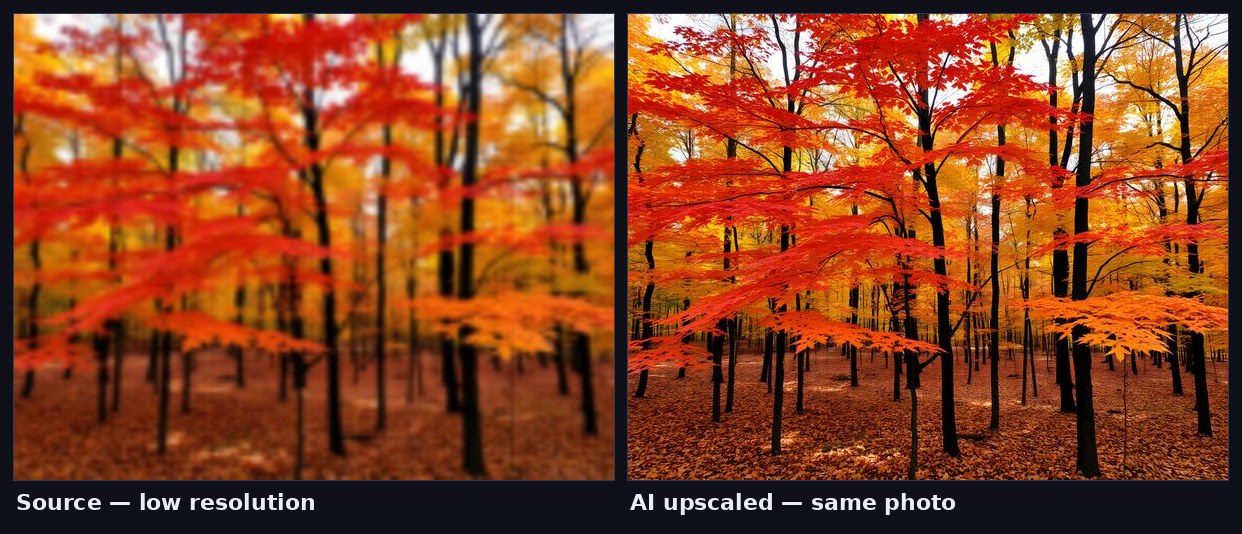
Got a photo that's too small, soft, or pixelated? Modern AI can reconstruct detail and make it look noticeably sharper — and you can do it free, in a few seconds.
The quickest fix: AI upscale
Open the AI upscaler, drop your photo, and choose 2× or 4×. The AI enlarges the image while inventing plausible detail along edges and textures — so the result looks sharper, not just bigger. Turn on face enhancement for portraits. Your photo is processed on our secure server and deleted the moment your result is ready.
What AI upscaling can and can't do
It works best on images that are simply small or soft — old scans, low-resolution downloads, thumbnails, compressed social media saves. It reconstructs believable detail. It can't recover information that was never captured, so severe motion blur or extreme noise won't fully disappear. For the why behind this, see how AI upscaling works.
Combine tools for the best result
For a really rough photo, chain steps in the Studio: upscale first, then compress for a smaller final file. If the photo also has a distracting background, the background remover can isolate the subject.
Tips for the cleanest output
Start from the highest-quality source you have (avoid re-saving JPGs repeatedly). Try 2× before 4× — sometimes 2× looks more natural. For printing, upscale to the pixel size your print needs; see the DPI guide.
Common questions
Can it fix any blur? Soft and low-res images improve a lot; severe motion blur is limited.
Is it free? Yes, fully free with no limits.
Is it private? Yes — your photo travels over an encrypted connection and is deleted right after processing; it is never stored or used for training.
Try it now with the free AI upscaler.
Triage: match the damage to the fix
| What you see | Likely cause | Best fix | Realistic outcome |
|---|---|---|---|
| Small photo looks soft when enlarged | Too few pixels (crop, thumbnail, old download) | AI upscale 2–4× | Excellent — this is the ideal case |
| Blocky squares, halos around edges | Heavy JPG compression (chat apps, re-saves) | AI upscale (its training covers JPG artifacts) | Very good on photos, weaker on fine text |
| Streaks in one direction | Motion blur (camera or subject moved) | Upscale sharpens edges only | Limited — smearing cannot be un-smeared |
| Uniformly out of focus | Missed focus at capture | Mild improvement at best | Manage expectations; reshoot if possible |
| Grainy speckles in low light | Sensor noise | Upscale + moderate expectations | Good — noise partly reads as texture to rebuild |
The pattern behind the table: AI restoration excels when detail once existed at a smaller scale or was damaged by known, learnable degradations (downscaling, JPG), and struggles when information was never recorded (motion smear, deep defocus). Thirty seconds of honest diagnosis saves you from judging the tool on its hardest case.
Three common rescues, step by step
- The chat-app casualty (photo forwarded through messengers until mushy): run 2× with face enhancement if there are people; export PNG to avoid adding yet another JPG generation. Compression damage is squarely inside the model’s training, so results usually surprise people.
- The cropped face (you cut one person from a group shot and got 300 px of pixels): crop first, then upscale 4× — order matters, because upscaling the full frame wastes the pixel budget on background. Finish with the profile-photo workflow if it is for an avatar.
- The old scan (soft, faded, maybe dusty): upscale 2× before any colour correction; enhancement tools work better with more pixels to hold their edits. Scan at 600 DPI if you can re-scan — more real input always beats more reconstruction.
Why “sharpen” filters didn’t work
Classic sharpening raises contrast along edges that already exist — on a genuinely low-resolution image it just makes the blur crunchy, adding halos without adding information. Super-resolution instead synthesises the missing high-frequency detail from learned photographic structure, which is why the result gains texture rather than grit. Practical corollary: never pre-sharpen before upscaling (you would be teaching the model to amplify halos), and if you want extra bite afterwards, a light pass in the editor on the enlarged image is the safe order.